
Let’s have a chat about hanging your wall art! We know this can be really intimidating but it doesn’t have to be! There are lots of ways to make it a little easier on yourself. But if it feels like too much, don’t forget that that’s why you use a professional photographer! We include the hanging of your wall art with every purchase. Just let us know that you’d like something hung and we will take care of it all for you. But if you’re ready to try it yourself, read on for our process and tips!
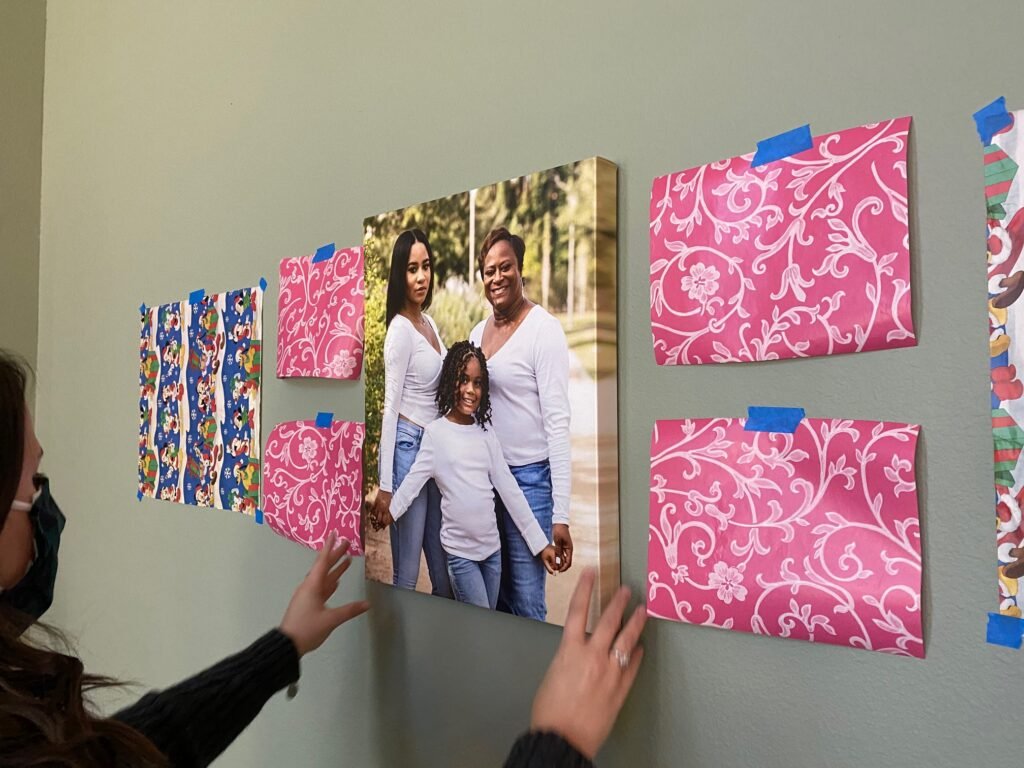
Step 1: Cut out templates of each piece of art. You can do this by using newspaper, wrapping paper, or taping printer paper together.
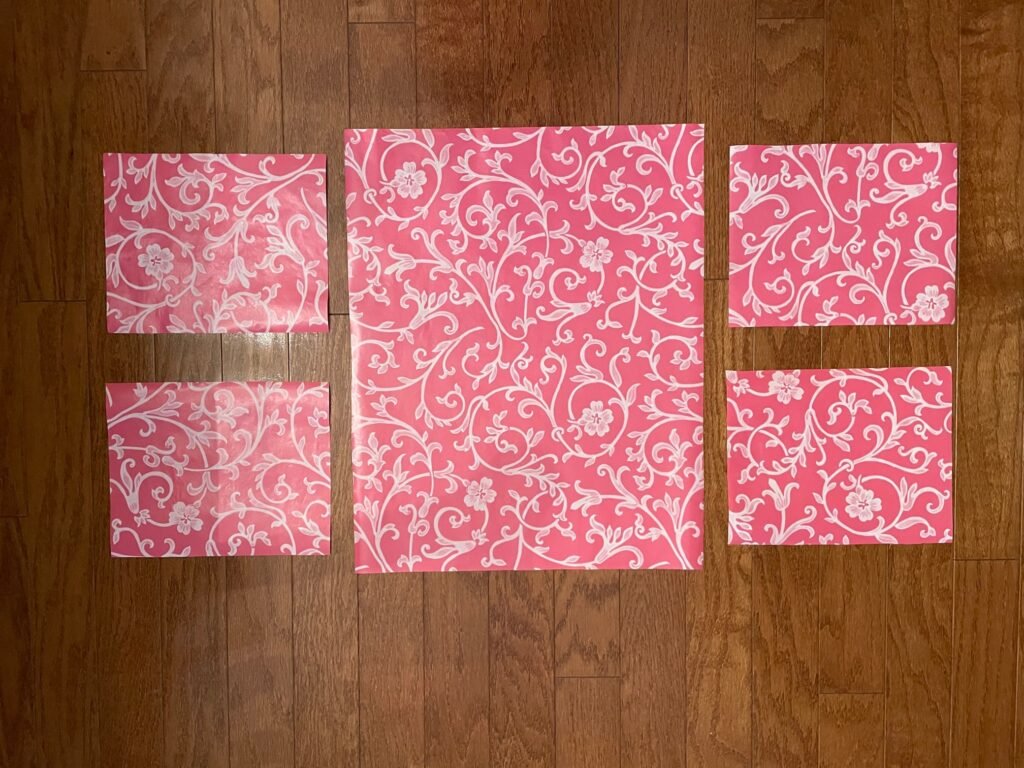
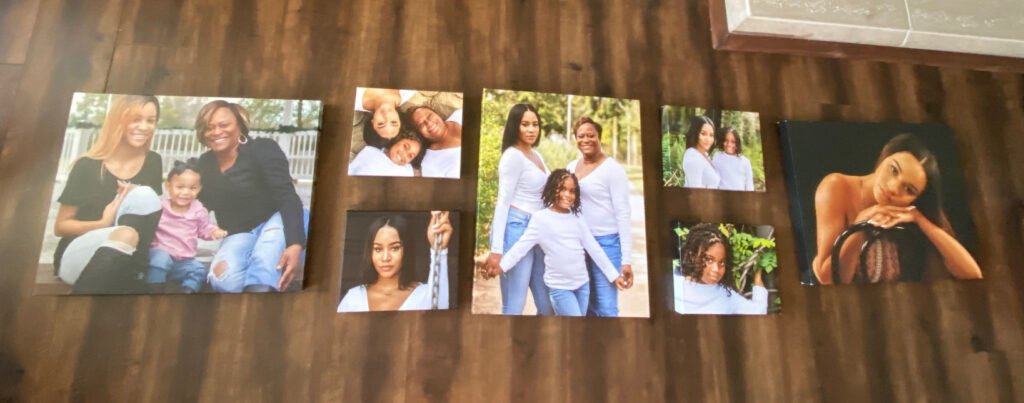
Step 2: Lay out your artwork to get an idea of how you would like to display it and the distance you would like to have between each piece.
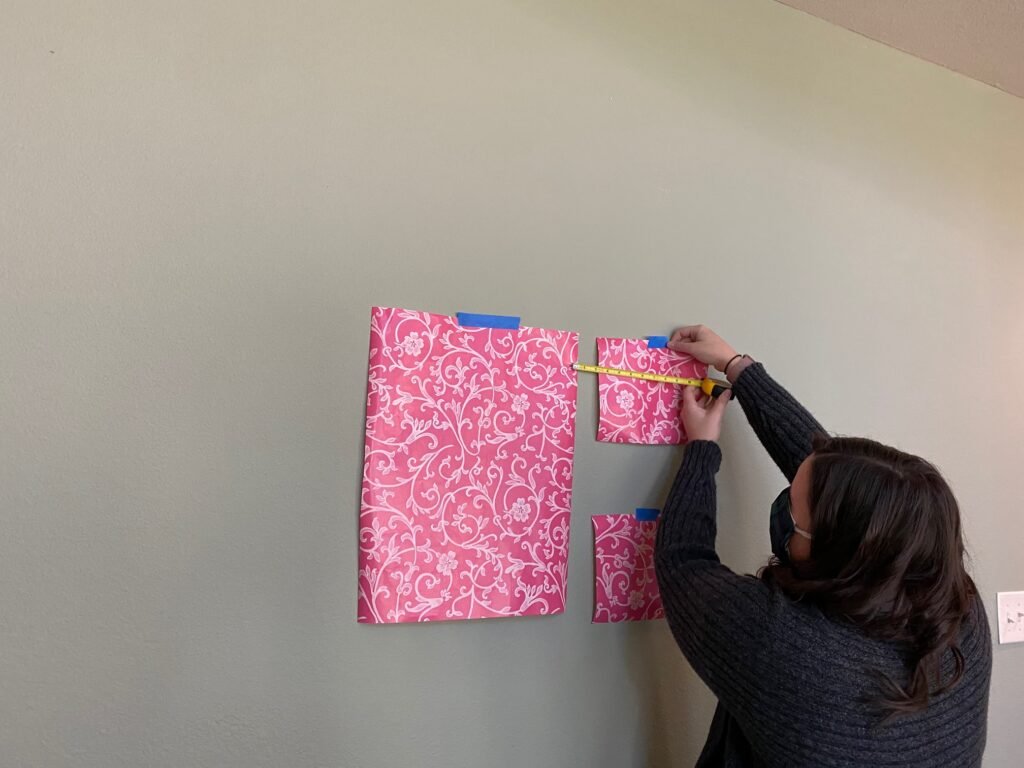
Step 3: Find the point on the wall that will be the center for the grouping. Determine what height you would like the art to hang at. The gallery standard is 57 inches plus half the height of the piece of art. Tape your templates onto the wall. Measure the spaces between your templates as you hang to make sure they are evenly spaced.
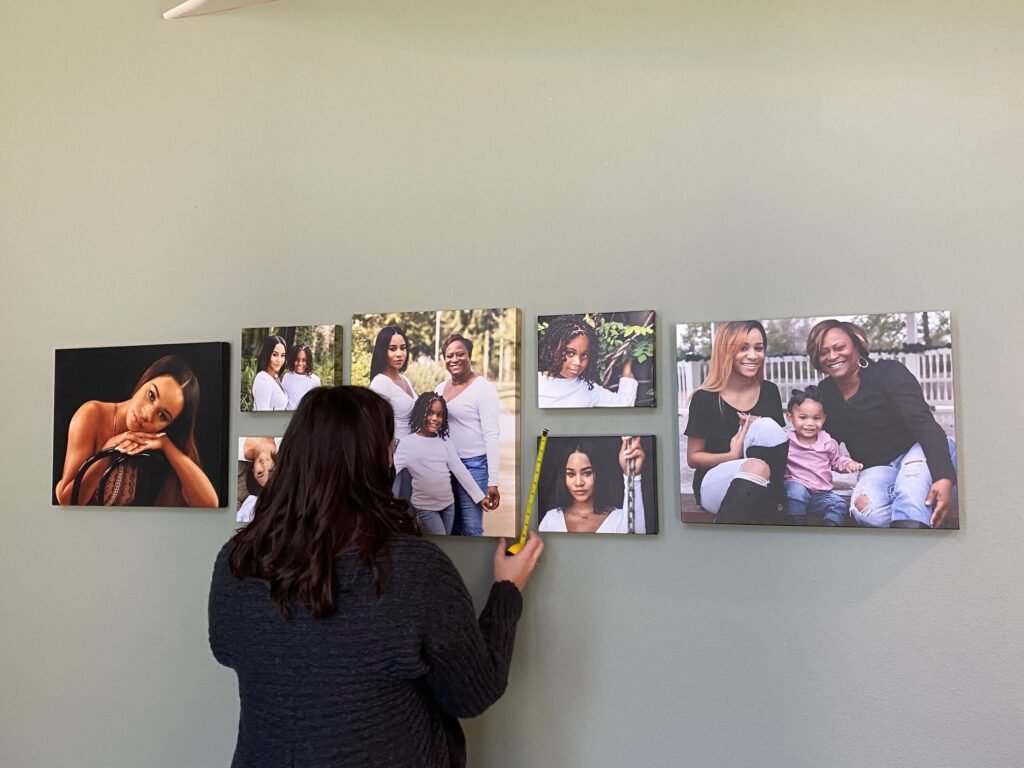
Step 4: Hang the center most piece of wall art. If your grouping is not symmetrical, start with the largest main piece in the group. Using a pencil, make a mark on the wall where you will place the nail. Take into account how low or high the hanger on the art is when making this mark. Hold your piece of art up to the mark and see if it feels about right. If it does, go ahead and hammer in your nail. Then hang your piece.
Step 5: Using a ruler or measuring tape, check that your templates are still the correct distance from your hung piece of art. If it seems off by a small amount, try sliding the hung piece left or right. Sawtooth and wire hangers are rather forgiving if you aren’t too far off!
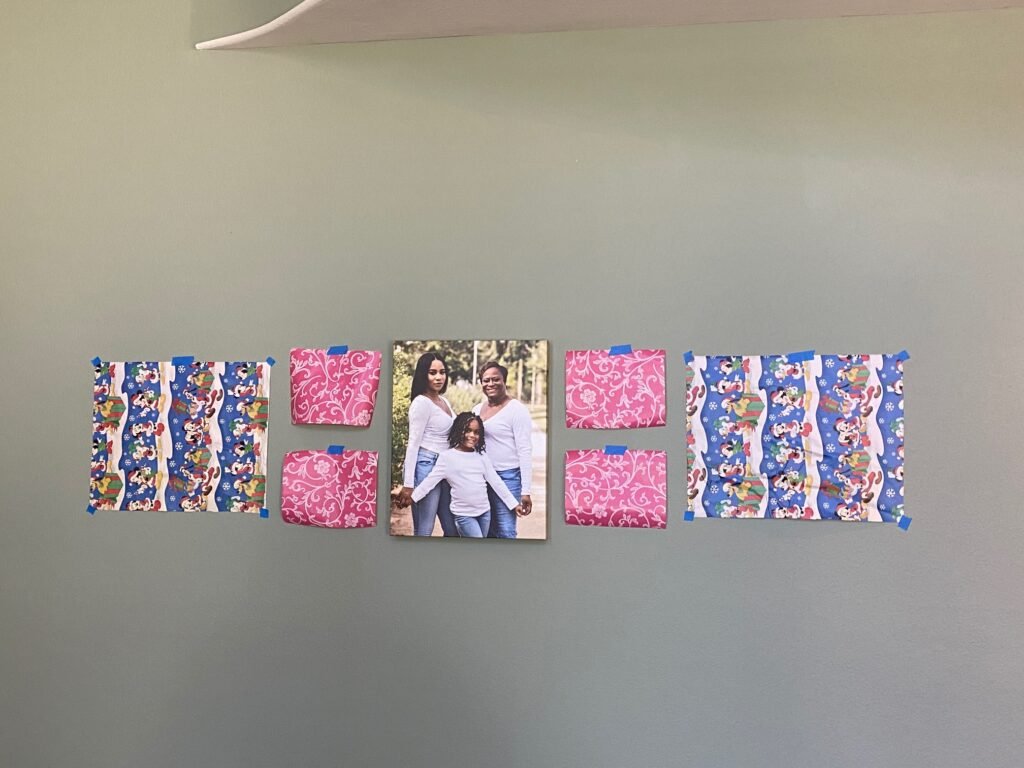
Step 6: Measure the distance from the edge of the hung piece to the center of your next piece. In this case, we wanted two inches between the center photo and the 8x10s on the left and right. So that means our nail needs to go in 7 inches from the already hung piece. We also wanted an inch above the top canvas and below the bottom canvas, so we had two inches in between the top and bottom canvases. Repeat this step for each art piece to the left and right of the main piece.
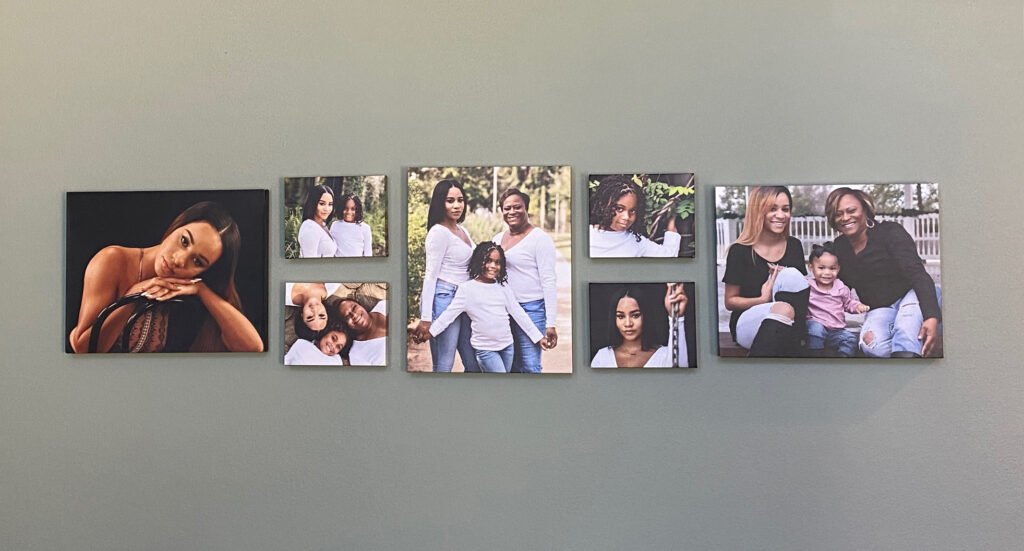
Step 7: Straighten or shift the pieces until they are all straight and equidistant.
Step 8: Stand back and admire your handy work!
For the full tutorial and more details check out this blog!