Let’s talk about all of those modes on your dslr camera. Who is just shooting using the green box settings? Well let’s get out of that rut and learn some neat tricks by changing modes! We’ll go through the basics here, but if you’d like to learn more, let us know! We offer individual or group classes. These apply to both Canon and Nikon.
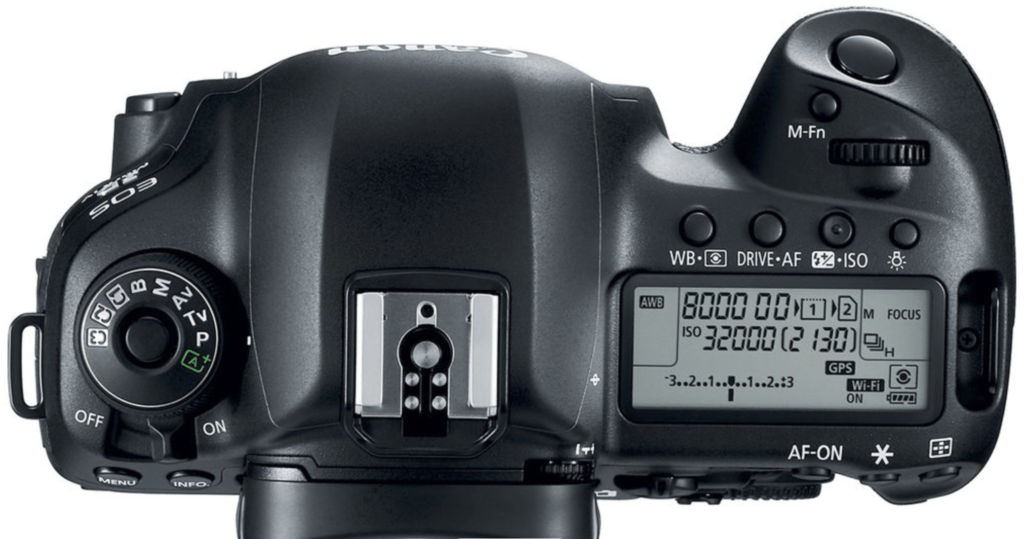
- Green Box: Auto mode. The camera controls everything for you. All you have to do is point and shoot. This one doesn’t allow any creativity, but is the most simple!
- P: Programmed Automatic. This mode allows you to make some small changes such as ISO, exposure, and white balance, but it will still set the aperture and shutter speed for you. This allows for a little creativity, but aperture and shutter speed will make the most difference creatively.
- AV or A: Aperture Priority. This allows you to set the aperture and the camera will adjust all of the other settings to make that work. This is a good place to start if you are interested in Bokeh (fuzzy backgrounds). To get that Bokeh, you’ll want your aperture to be as low as possible, f1.4-f4. Be sure to pay attention to your shutter speed though! Too slow and your subject may be blurry.
- TV or S: Shutter Priority. This allows you to set the shutter speed and the camera will adjust all of the other settings to make that work. Remember, the larger the number, the slower the shutter. And with children and pets you’ll probably want to keep your shutter speed over 1/200th of a second.
- M: Manual. You get to make all of the choices here! You can change exposure, ISO, aperture, shutter speed, white balance and more. Those things allow you to really customize a photo to fit a specific look. This is the only mode we shoot in!
For more information on ISO, Aperture, and Shutter Speed, click here!